本来使用 Org-Mode 来写博客就很舒服了, 插入图片也很容易,使用
[[图片地址]]
的方法就可以。但是对于编写需要插入截图的文档来说,就得先截图,然后保存图片到相应位置,之后才能使用上面的方法来插入图片。
有幸,前面搜索资料时发现了一篇文章Org-Mode 中插入截图。试用后觉得非常方便,不过我又做了一些改动,以适应Mac OSX。同时为使用Octopress,重新设置了图片目录,如下:
my-screenshot 1
2
3
4
5
6
7
8
9
10
11
12
13
14
15
16
17
( defun my-screenshot ()
"Take a screenshot into a unique-named file in the current buffer file
directory and insert a link to this file."
( interactive )
( setq filename
( concat ( make-temp-name "./" ) ".png" ))
( setq fullfilename
( concat ( file-name-directory ( buffer-file-name )) "images/blog/" filename ))
( if ( file-accessible-directory-p ( concat ( file-name-directory
( buffer-file-name )) "images/blog/" ))
nil
( make-directory "images/blog/" t ))
( call-process-shell-command "screencapture" nil nil nil nil "-i" ( concat
"\"" fullfilename "\"" ))
( insert ( concat "[[./images/blog/" filename "]]" ))
( org-display-inline-images )
)
另外,还需要给
org-octopress.el 打个补丁,否则发布文档中图片的索引会有问题,造成某些页面下无法显示:
org-octopress.el补丁 1
2
3
4
5
6
7
8
9
10
11
12
13
14
15
16
17
18
19
20
21
22
23
24
25
26
27
28
29
30
31
diff --git a/org-octopress.el b/org-octopress.el
index 7f87742..36eed86 100644
--- a/org-octopress.el
+++ b/org-octopress.el
@@ -961,7 +961,7 @@ OPT-PLIST is the export options list."
          (if (string-match "^file:" desc)
              (setq desc (substring desc (match-end 0)))))
        (setq desc (org-add-props
-                      (concat "<img src=\"" desc "\" alt=\""
+                      (concat "<img src=\"/" desc "\" alt=\"/"
                               (file-name-nondirectory desc) "\"/>")
                       '(org-protected t))))
       (cond
@@ -1960,7 +1960,7 @@ PUB-DIR is set, use this as the publishing directory."
   "Create image tag with source and attributes."
   (save-match-data
     (if (string-match "^ltxpng/" src)
-       (format "<img src=\"%s\" alt=\"%s\"/>"
+       (format "<img src=\"/%s\" alt=\"/%s\"/>"
                 src (org-find-text-property-in-string 'org-latex-src src))
       (let* ((caption (org-find-text-property-in-string 'org-caption src))
             (attr (org-find-text-property-in-string 'org-attributes src))
@@ -1972,7 +1972,7 @@ PUB-DIR is set, use this as the publishing directory."
 <p>"
                    (if org-par-open "</p>\n" "")
                    (if label (format "id=\"%s\" " (org-solidify-link-text label)) "")))
-       (format "<img src=\"%s\"%s />"
+       (format "<img src=\"/%s\"%s />"
                src
                (if (string-match "\\<alt=" (or attr ""))
                    (concat " " attr )
修改完成以后,就可以在编写Org文档的时候执行
M-x my-screenshot 进行抓屏了,抓好的图片存放在当前目录的
./image/blog/ 下,命名使用随机命名方式。最后,这个脚本还会开启Emacs
Org-Mode 的内嵌图片显示,达到图文并茂的效果。如果不需要该功能,可以使用快捷键
C-c C-x C-v 来关闭。
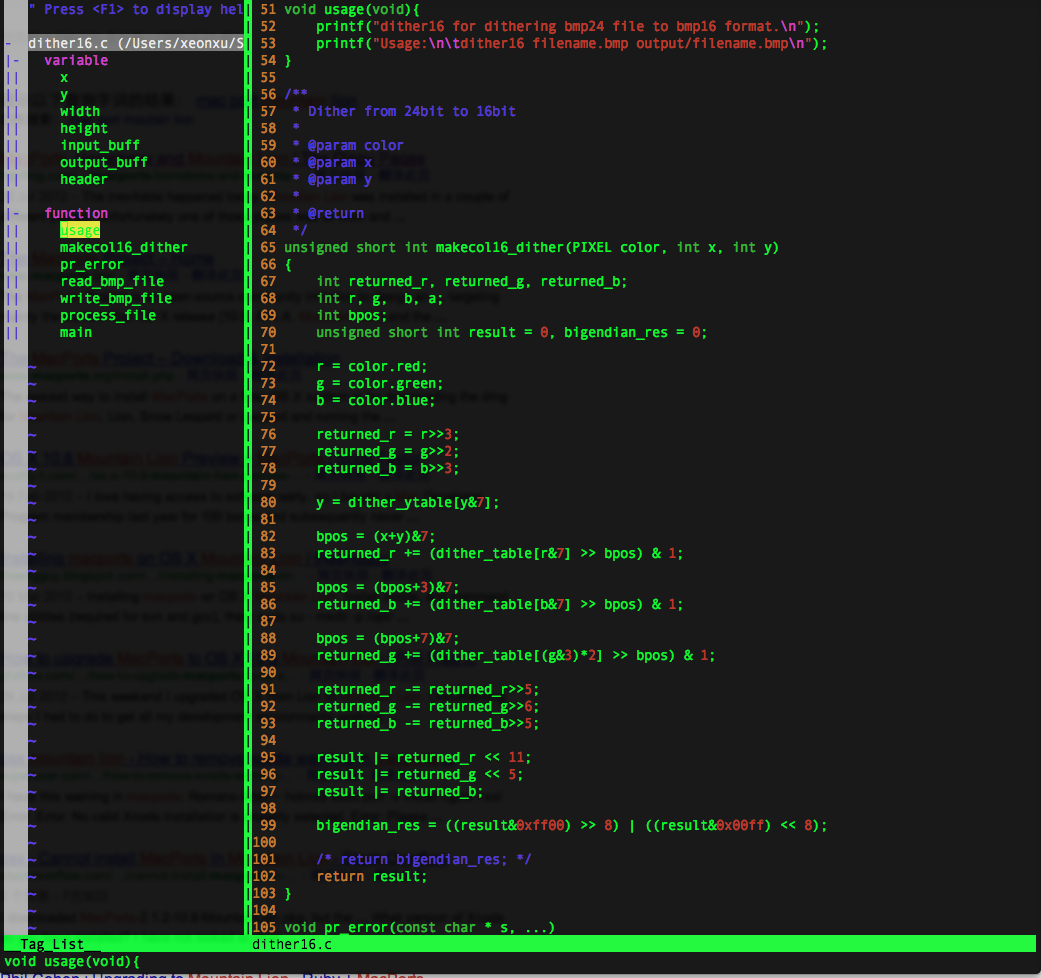
截个之前配置好的Vim ,看看效果吧!